Unveiling the Art of Perfection: Enhancing Images – Post-Processing for Construction Site Photography
Unveiling the Art of Perfection: Enhancing Images – Post-Processing for Construction Site Photography
Introduction: A Snapshot of Reality
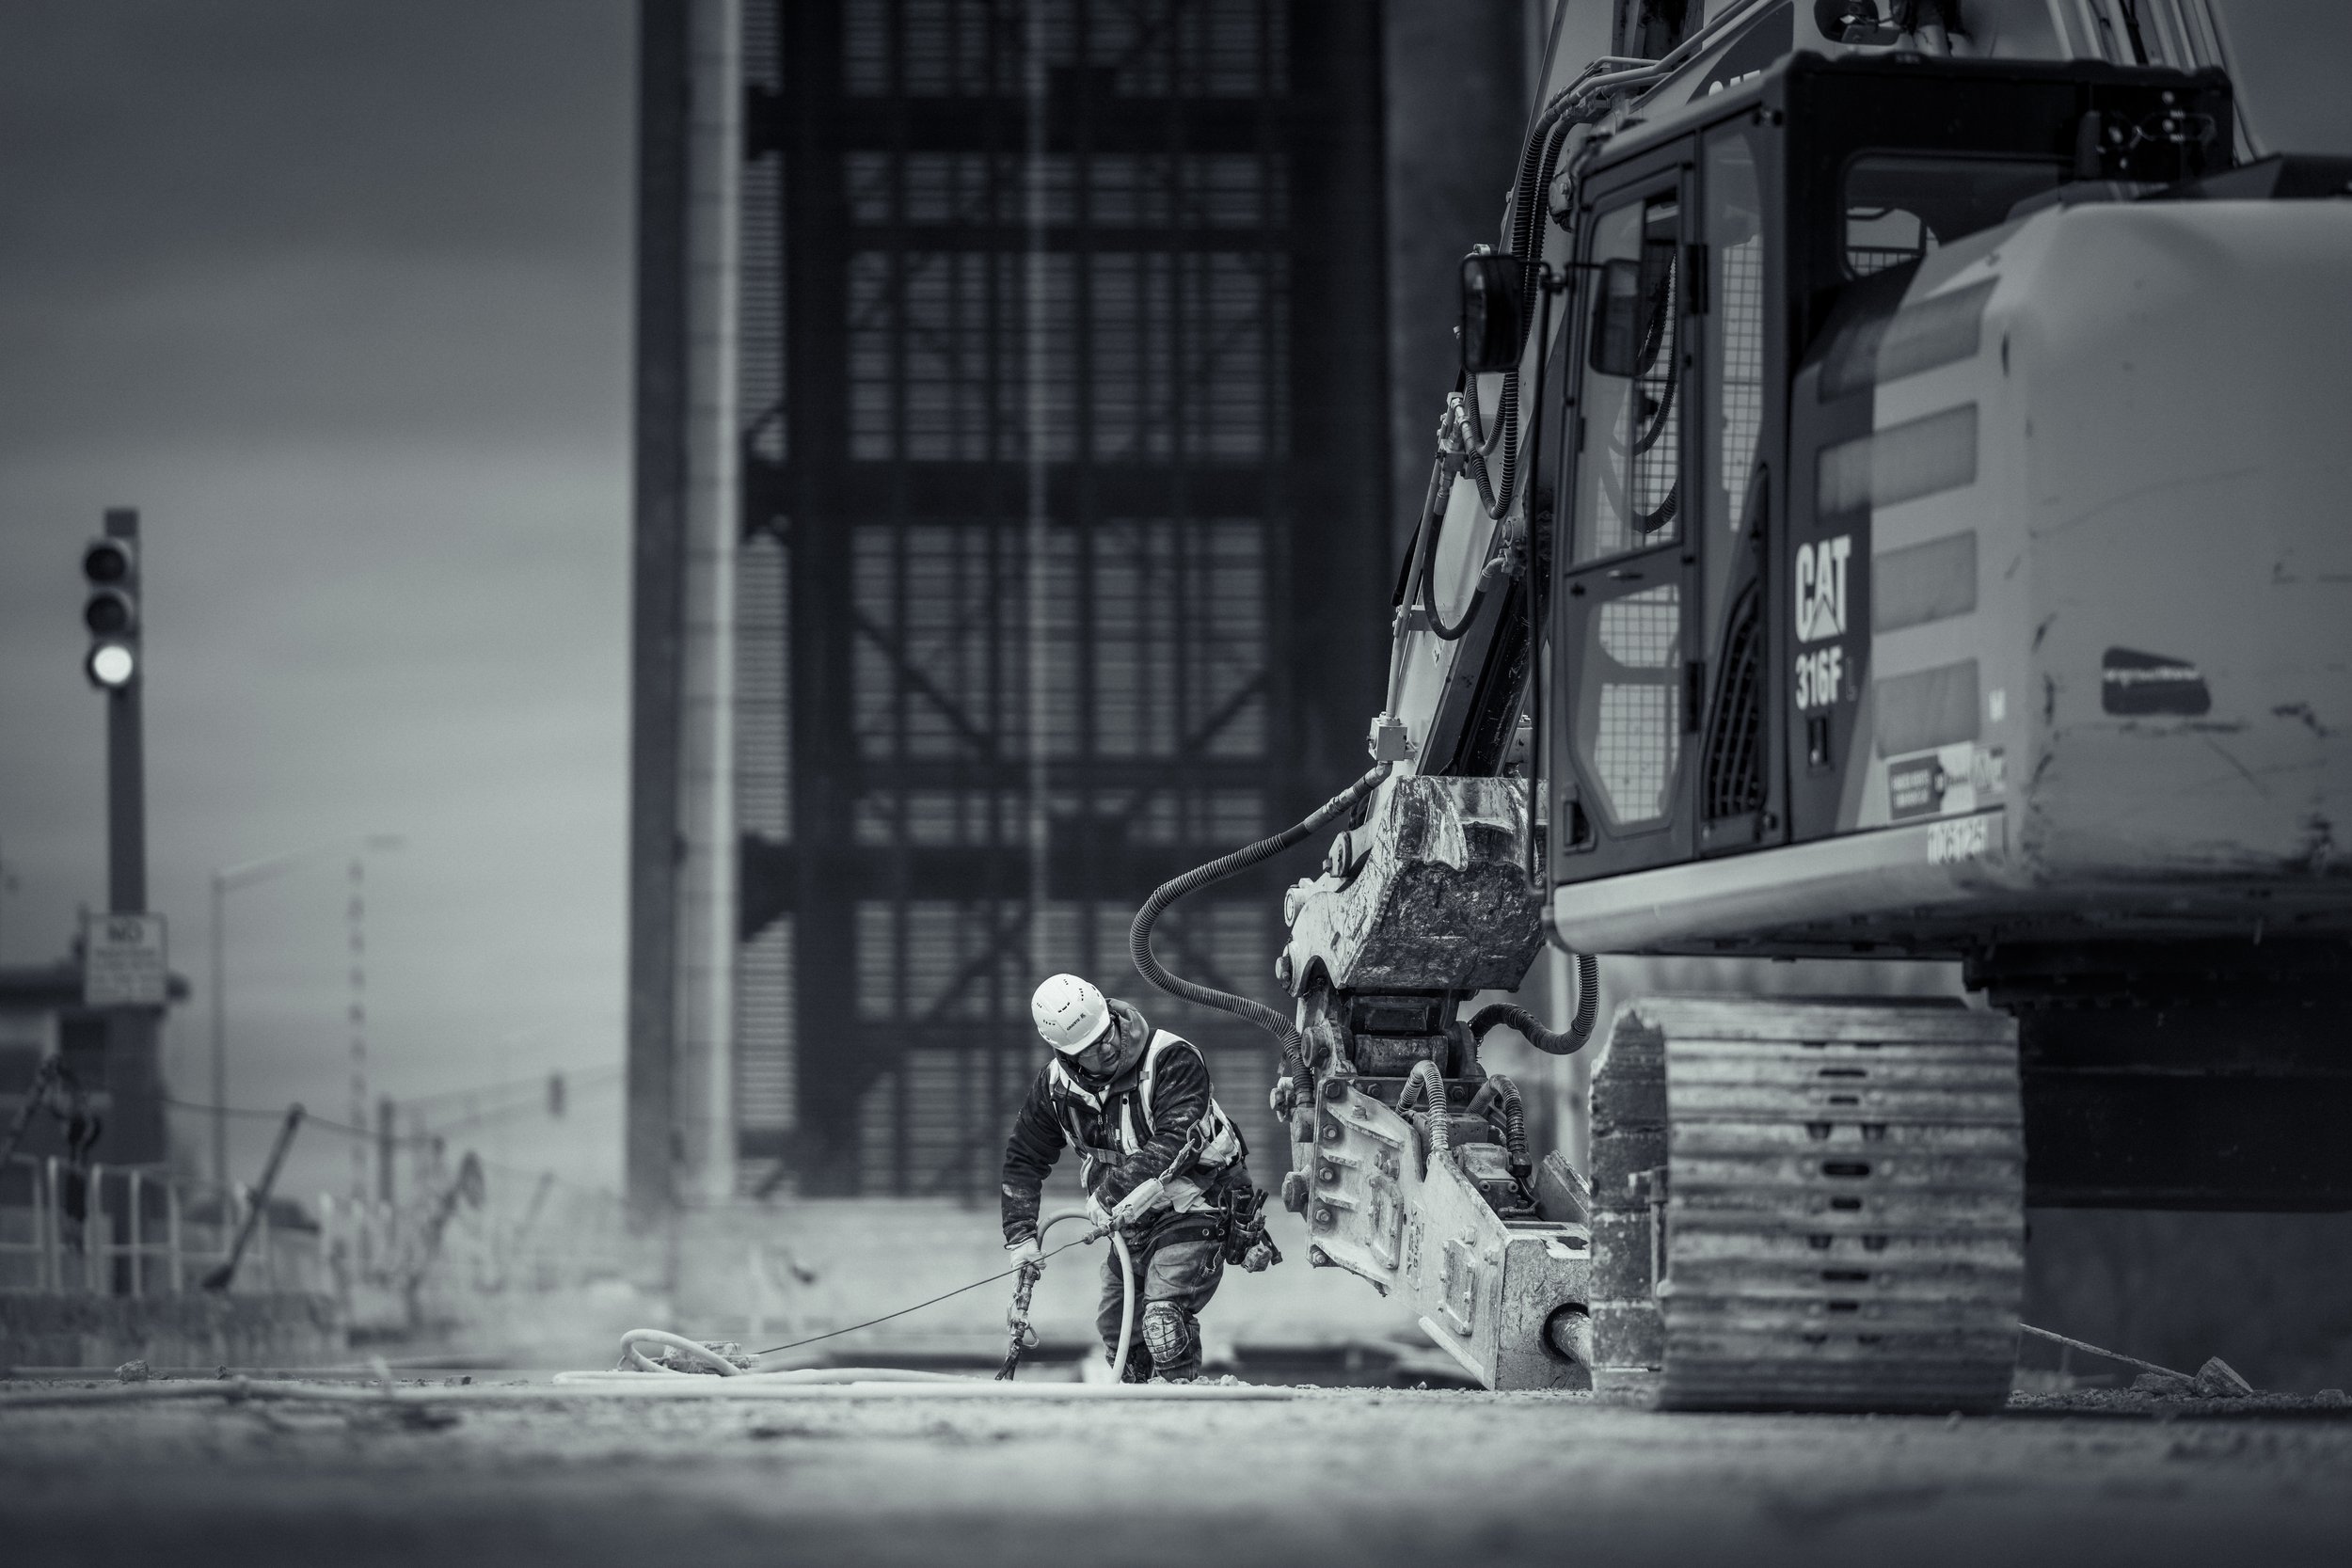
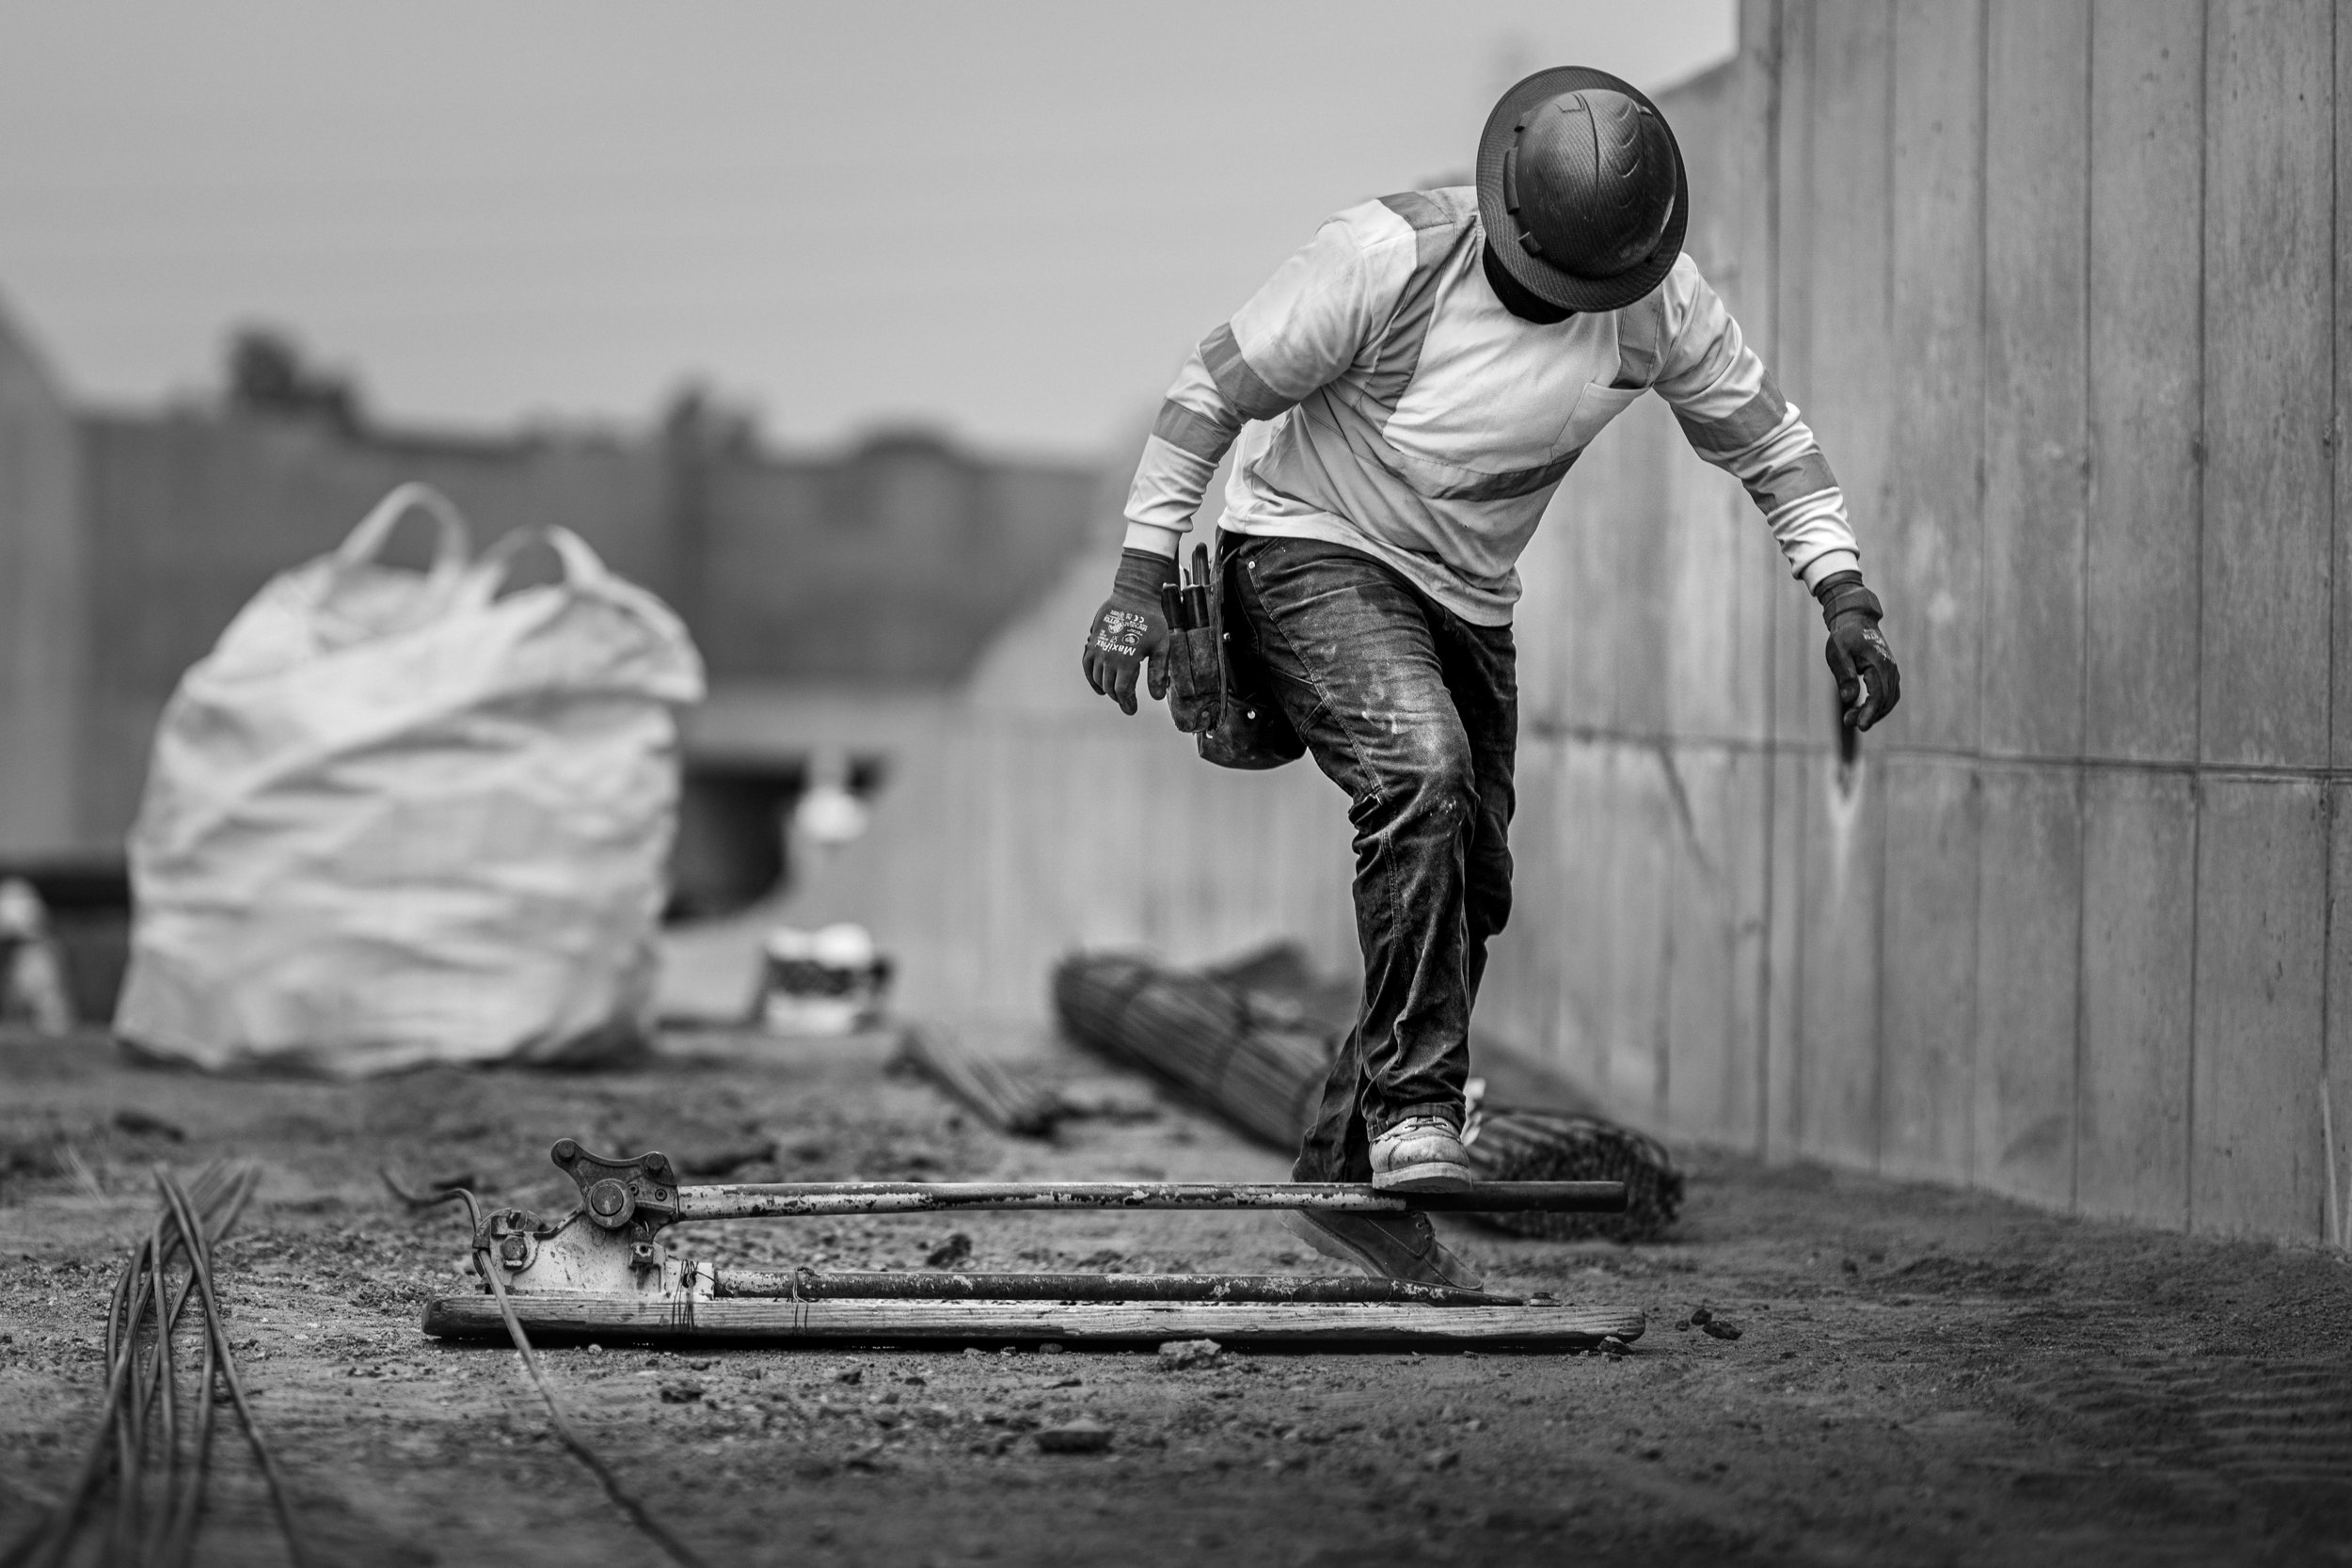
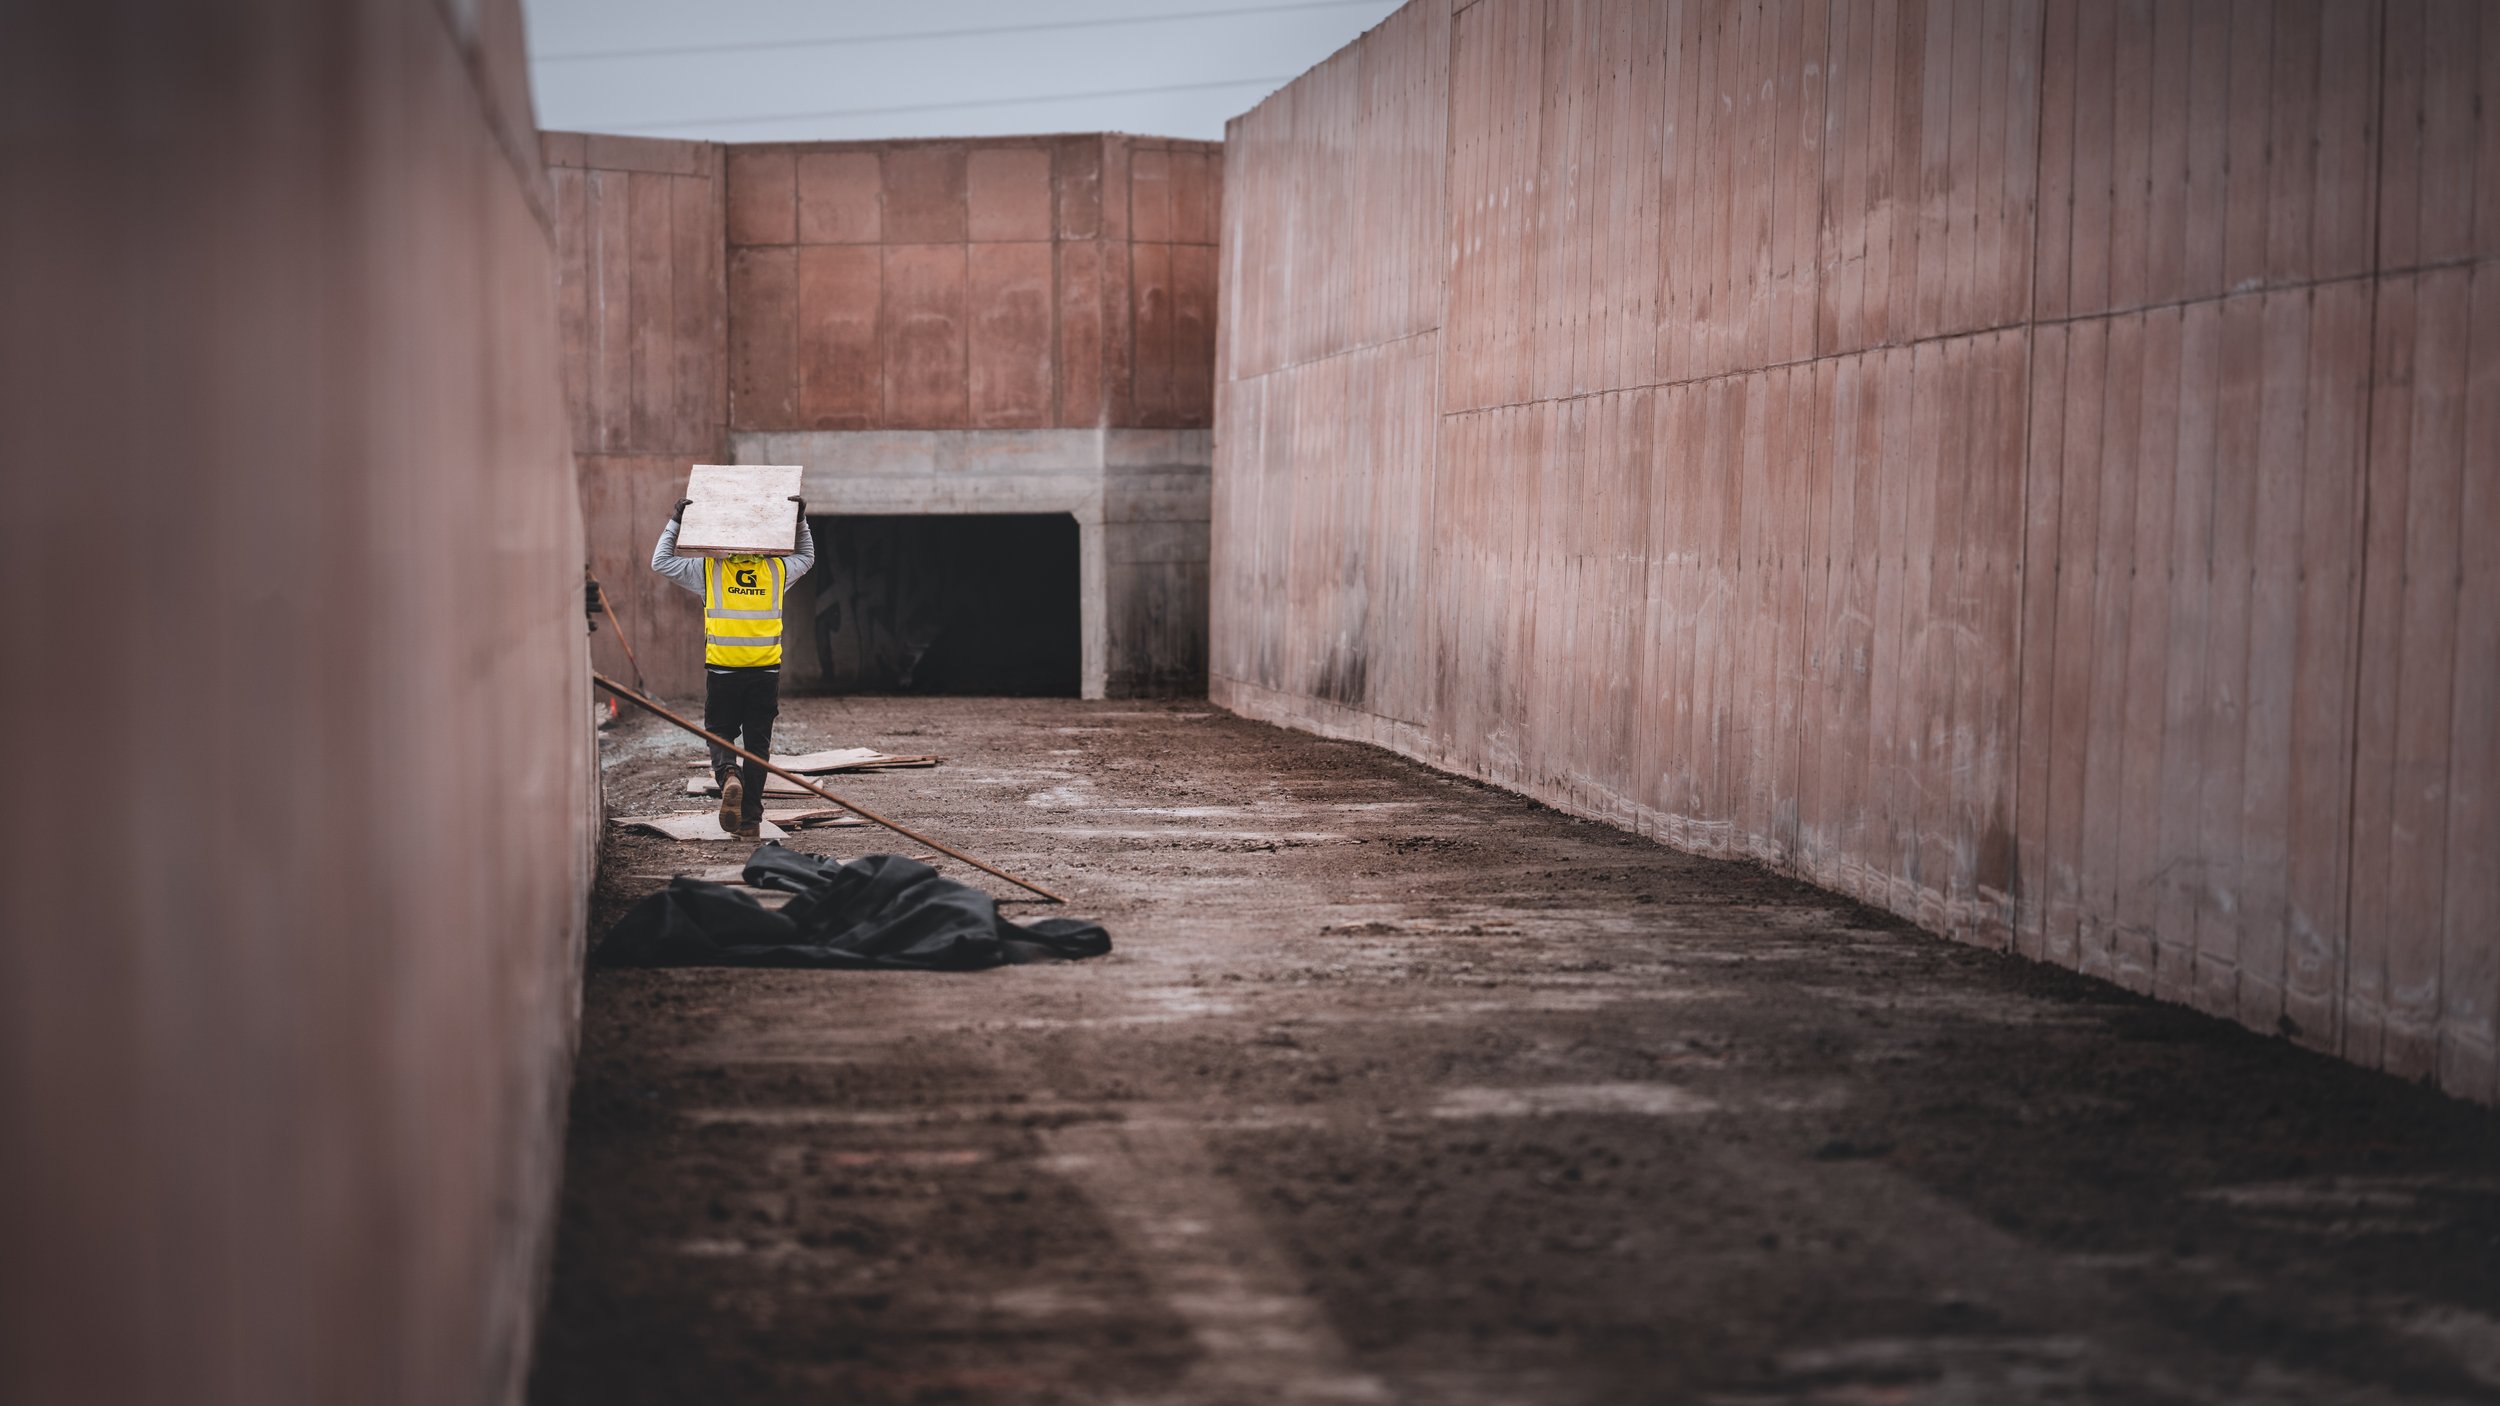
Ah, the construction site! A bustling epicenter of creativity and chaos, where dreams are built from the ground up. Completing a construction site photoshoot and capturing this dynamic environment in photographs isn't just a case of point-and-shoot. It's about painting a vivid picture of progress, where every rivet, beam, and worker plays a crucial part. But the magic doesn't stop there; oh no, it's just getting started. Enter the world of post-processing - the secret sauce that takes your construction photography from good to great, from mundane to magnificent.
Enhancing Images: Post-processing for Construction Site Photography
The Need for Post-Processing
At first blush, you might ask, "Why bother with post-processing?" You've already spent a fair amount of time capturing the perfect shots, right?
Well, as the saying goes, "The devil is in the details." Post-processing helps reveal those details, enhancing the overall quality of your images and giving them a professional touch to make you an even better construction photographer. From adjusting lighting and shadows to removing unwanted elements, the power of post-processing is undeniable. It's the cherry on top of your construction photography sundae!
The Toolbox of Transformation
Think of post-processing software like a toolbox. Each tool, from Adobe Lightroom to Capture One, offers a unique way to enhance your images. This isn't a one-size-fits-all solution. It's about finding the right tools that complement your photography style and meet your post-processing needs.
Nailing the Basics: Post-processing Techniques for Beginners
Balancing Act: Adjusting Exposure and Contrast
Too dark? Too bright? Post-processing can help strike the perfect balance. Adjusting exposure and contrast helps to ensure your images are not only clear but also impactful. Remember, it's all about showcasing the details!
Color Me Impressed: Tweaking White Balance and Saturation
Colors can make or break an image. With post-processing, you can adjust white balance and saturation to ensure your images are vibrant and true-to-life. But beware! It's easy to go overboard, so always strive for a natural look.
Sharp Shooter: Enhancing Sharpness and Clarity
Sharpness and clarity are key to capturing the gritty reality of a construction site. Post-processing allows you to enhance these elements, bringing the intricate details of your images to life.
Leveling Up: Advanced Post-Processing Techniques
Masking Magic: Using Layer Masks for Selective Editing
Layer masks are a godsend for selective editing. They allow you to modify specific areas of your image without affecting the rest. It's like having a magic wand at your disposal!
HDR Hero: Harnessing the Power of HDR
High Dynamic Range (HDR) can take your construction site images to new heights. By combining multiple exposures, HDR allows you to create images with a wider range of light and dark details – perfect for capturing the complexity of a construction site.
Post-Processing Workflow: A Step-by-Step Guide
Understanding the theory behind post-processing is one thing, but applying it is a whole different ball game. Here's a step-by-step guide to help you navigate the post-processing workflow.
Import and Back-Up: Always start by importing your images into your chosen software and backing them up. Better safe than sorry!
Cull and Rate: Next, sift through your images, discarding the duds and rating the keepers. This will streamline your workflow and make editing more efficient.
Crop and Straighten: Sometimes, a little trimming can make a world of difference. Adjust your composition by cropping and straightening your images.
Basic Adjustments: Tackle the fundamentals, such as exposure, contrast, white balance, and saturation. Get your images looking shipshape before diving into more advanced techniques.
Advanced Techniques: Now's the time to unleash your creativity. Experiment with layer masks, HDR, or other advanced editing techniques to elevate your images to the next level.
Sharpen and Noise Reduction: Don't forget to sharpen your images and reduce any noise for a cleaner, crisper final result.
Export and Share: Finally, export your masterpieces and share them with the world. After all, what good is a stunning image if no one gets to see it?
FAQs: Enhancing Images and Post-Processing for Construction Site Photography
Q: How can I avoid over-editing my images?
A: The key to avoiding over-editing is to maintain a natural look. Make subtle adjustments and always compare your edited image to the original. When in doubt, less is more.
Q: Is it possible to rescue an underexposed or overexposed image through post-processing?
A: While post-processing can do wonders, it has its limits. You may be able to salvage an underexposed or overexposed image to some extent, but the results will likely be subpar compared to a properly exposed image.
Q: How much time should I spend on post-processing my construction site photographs?
A: The amount of time you spend on post-processing will depend on your personal preferences and the specific needs of your images. Some photographers prefer to spend more time in the field capturing images, while others may dedicate hours to perfecting their images in post-processing. Ultimately, it's about striking the right balance for you and your workflow.
Q: What file format should I use when exporting my edited images?
A: The file format you choose will depend on your intended use for the images. For most purposes, JPEG is a popular and versatile choice. However, if you need to preserve the maximum image quality for printing or further editing, consider exporting in a lossless format such as TIFF or PNG.
Q: Can I learn post-processing techniques on my own, or should I take a course?
A: The beauty of the digital age is that there are countless resources available for learning post-processing techniques. From online tutorials to workshops and courses, you can choose the learning method that suits you best. Some photographers prefer to learn through trial and error, while others may benefit from structured guidance.
Q: Do I need expensive software for post-processing?
A: While professional-grade software like Adobe Lightroom and Photoshop offer a plethora of powerful tools, there are also free or lower-cost alternatives available. GIMP, for example, is a free, open-source software that provides many of the same capabilities as Photoshop. Ultimately, the choice of software will depend on your specific needs and budget.
Conclusion: The Power of Post-Processing
There you have it, folks! The world of post-processing is a treasure trove of creative possibilities, waiting to be explored. With the right tools and techniques, you can transform your construction site images into captivating works of art that truly showcase the beauty of progress. So, what are you waiting for? Dive into the world of post-processing and unleash the full potential and the best construction photographer around.


